This article's title is conjectural.
Any name given in official media is eligible to become the title of the article.
The current title is not an official name.
The "avalanche room" is a room in Sector 2 / Cryosphere. It appears in Metroid: Other M.
Description[]
The avalanche room is a massive, ice-covered cavern inside the Cryosphere warehouse facilities. It is almost entirely frozen over, save for the ceiling. Near the entrance, it initially appears to be a straight path, before it rounds a corner to the right. Several ice shards are seen protruding out of the walls here. At the back of the path around the corner, there is a tall slope, the edge of which is lined with icicles. The slope itself is lined with ice crystals and rebar protruding through the ice. At the top of the slope is a door into the window area of the Materials Transfer Lift, which contains a sensor to activate the elevator. Beside the door are two vents that are seen producing snow.
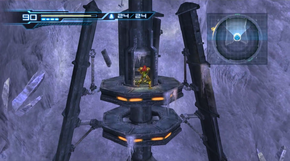
The top of the first structure.
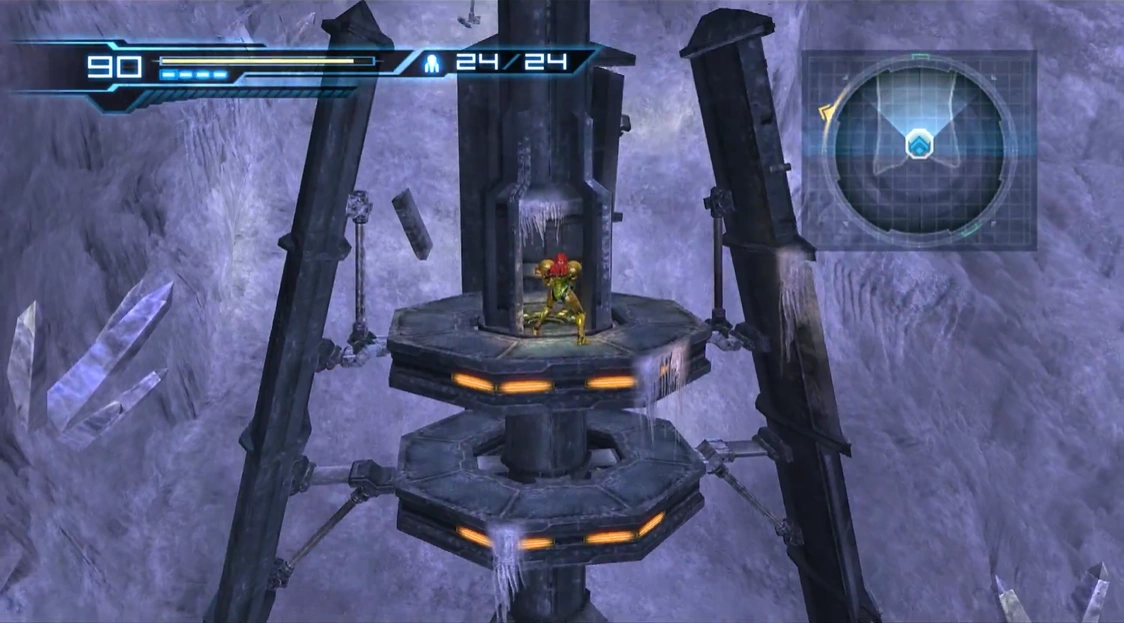
A partial tower is found frozen into the lower ice, with a structure positioned above it. The structure has three "legs" holding it stable above the ice, and in its center is a downward protruding "core" with an orange circle on it. Whether this represents a power source or something else is unknown. Two platforms line the upper half of the structure, and can be grabbed onto. Another one of these structures is located above the turn in the room in midair, and contains a Missile Tank (see below).
A Morph Ball launcher is located on the structure's first platform. It leads into the structure's interior, which is separated from the rest of the room by a grate in the floor, bordered by metal fencing. The grate has a square pattern, with some squares periodically releasing electrical energy, which is harmful to Samus, although the Snomers in this section are immune to it. Such squares have a border with small white lights. Further along the track is a short vent, which goes underneath some of the fencing.

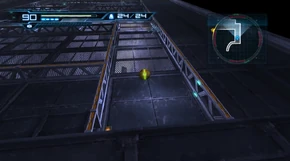
Interior of the first structure.
At the end of the track is a second vent that leads to the top of another midair structure. The interior of that structure is similar to the first one, but it has less fencing and is thus more open, and there are no electrified panels in the floor. However, positioned around the floor are broken vent entrances, through which Samus can fall. The exit tunnel in this structure leads into the Materials Transfer Lift's window.
Role[]
Samus enters this room as she explores the rest of the Cryosphere after uncovering the Deleter's existence. To ascend the room, she has to Shinespark to the upper structure. A tutorial appears on-screen on her first visit as a reminder. She navigates the structure interiors and finds the Materials Transfer Lift's sensor, which she cannot activate as it is behind glass. Leaving, she slides down the slope and returns to the previous room, where she faces Super Zebesians and is authorized to use her Wave Beam.

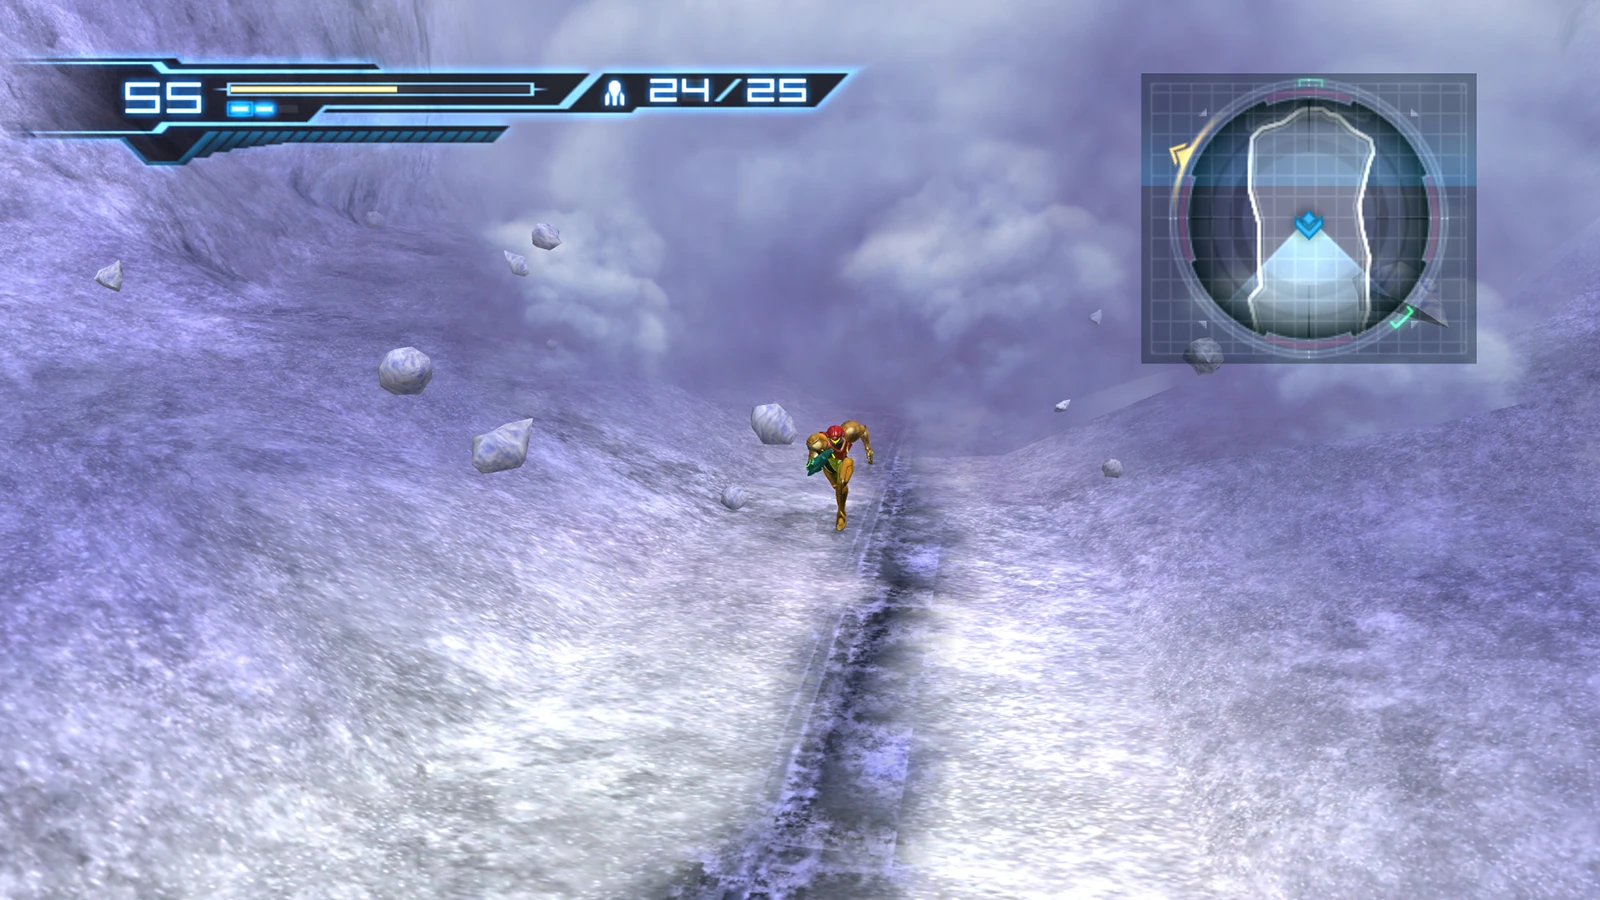
Samus running from the avalanche.
Returning to this room, Samus re-navigates the structure interiors to get back up to the observation window, where she activates the sensor. As she starts sliding down the slope, frantic music begins to play and the snow machines beside the door release large quantities of snow, forming an avalanche. Samus must dodge the obstacles in her way as she attempts to evade the snow; while the rebar is harmless, the crystals will damage and slow her down if she comes in contact with them. She can use her Morph Ball to roll down the slope faster and get a head start on the snow. Once Samus gets to the bottom of the slope, she must continue running forward until a quick-time event starts where she Shinesparks through the storage room door to the right to escape the avalanche. Getting caught in the snow causes a Game Over.
Following the sequence, the room is entirely covered in solidified snow and it is no longer possible to Shinespark upward. Samus can get atop the snow by using a Grapple Point once her Grapple Beam has been authorized.
Connecting rooms[]
- "Cargo storage room" (via automatic door)
- Materials Transfer Lift (observation window, via automatic door and tunnel)
Inhabitants[]
Items[]
- Missile Tank
- Found atop one of the high structures in the room. Samus must start running from the storage room and Shinespark up after she passes the corner. Alternatively, she can collect it after the avalanche, where the snow has solidified enough that she can jump to the structure.
Official data[]
Metroid: Other M Premiere Edition[]
- Page 98
- "Save at the Navigation Booth to unlock the next hatch, then make a left out of the Navigation Booth into a long, snowy area. Defeat the Volfons near the center of the area, then turn right to find a long, adjacent pathway.
- Get a running start up the adjacent pathway, then use Shinespark to jump straight up and onto the structure at the far end. There is a ball launcher in a small niche on this structure, drop into Morph Ball and launch yourself up into the structure’s interior.
- Missile Tank!:"There is also a Missile Tank on the structure hanging high above where the two pathways intersect. To reach it, go all the way to the to the far end of the adjacent path, the run back down to the main path. Just as you reach the small blip on your radar, use Shinespark to launch yourself straight up onto the platform overhead. Roll around to the opposite side of the platform to find your Missile Tank."
- The ball launcher leads you to the narrow vents of the structure, so you’re incapable of getting out of Morph Ball mode. Follow the vents past the electrified panels, leaving bombs for the Snomers, and drop into the vent opening on the far left. Roll down the winding vent to another opening and then hop out. Make a left, past more electrified panels, to a vent opening around the corner. Take the vent to another similar structure with a ball launcher.
- Page 99
- Caution:"If you make a right and drop down the opening immediately on the right, you'll fall out of the structure and will have to climb all the way back up again.
- Also beware of the electrified panels! If you touch them while active, they’ll shock you, cause damage, and bounce you into other hazards like Snomers or other dangerous panels!
- Once again, drop into the ball launcher and blast yourself into another series of narrow pathways. Just as before, avoid the electrical panels while destroying the spiky beetles and make your way through the next series of vents. This time, they lead you to a small room with an Energy Tank!
- As soon as you exit the hatch, you slide down a long decline. Carefully maneuver past the obstacles until you reach the bottom. Backtrack to the room just outside of the last Navigation Booth."
- Page 100
- "Exit the tall structure and slide down the long decline, this time as you're chased by an avalanche! Dodge the obstacles in your way, then return to the area where you fought the three Zebesians recently."
Gallery[]
")
")
")
")
")
")
")
")
")
")
")
")
")
")
")